Monday, November 11, 2013

weathering the battens.
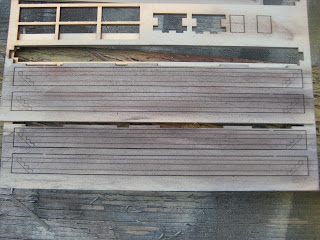
I painted all the exterior walls/parts Tuscan red. After this dried for a few days, I dry brushed on some light grey, rust and burnt sienna onto the battens while they are "lose". I then brushed on some Van Dyke Brown ink along the bottom to represent moisture stains. Lastly I brushed on some light grey chalk to help blend it all. Walls will be tomorrows project.


I also boxed in the turntable pit/hole.


Saturday, November 9, 2013

Turntable prolems. I took the TT to my local dealer and it appears that the electronics under the pit are bad, so back it goes. They didn't have another one to give me, so I'll need to wait. In the meantime, here are the parts from the Firebox conversion kit all painted. just need to weather them.


Wednesday, November 6, 2013

turntable problems

The TT doesn't seem to function right. It will only turn in one direction. It also makes a clunking noise. Not sure if that is normal or not. Right, time for a beer or two!
Baseboard and TT install

Today I banged out the baseboard (foamcore glued to 1x3's and edged with 1/8 x 4 inch trim)

This pic shows the layout of the TT and RH

Once I was happy with the placement, I poked a hole every 10 degrees with my rusty,trusty Xacto knife.

After I did that, I have a nice pattern to cut out to.


then I slowly sawed away


Within a few minutes, we have a hole!


Next, cut a slot for the optical sensor and V slots for the mounting lugs. I set the TT on the foam and lightly pressed down, which left impressions on the top. Don't forget to make sure the "No track Zone" is not where you may want to put any track! I made mine to be at 90 degress from the roundhouse


Next step is to make sure it works before I take it apart and modify it for Hon3
 
I will also be adding a Model Masterpices ash pit and Campbells coal tower


Off to look for a power supply and see how it works.


Tuesday, November 5, 2013

Narrow gauge turntable and roundhouse.
My other project is for a good friend of mine. I'll be using the Sargents roundhouse from Banta Modelworks and an N scale Walthers turntable to spin the engines around on. Firebox models makes conversion kit for it, which makes life easier for me (since I'm lazy)


This is a real nice kit.
 
TT conversion kit by Firebox Models
 
 
And the turntable by Wally World


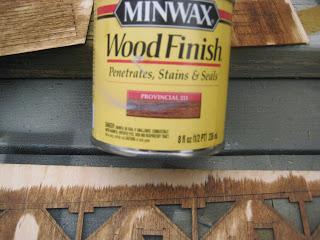
I'm using Miniwax to stain all the wood. This colour is real close to the laser cut edges, so it all matches.

The pit walls being built

I
I built the pit walls first. I painted them a light grey and weather them with chalks and inks

I've weathered the interior pit walls before gluing them in, since it much easier the do when they are flat.
 
Here are 2 of the pits, less the interior walls
The floor gets covered with cinders, but I still painted the floor in order to seal it against moisture


Next steps are to lay this out on the base I built.
I'm using foamcore glued to 1x3's


Over the past week, I built the structures for my cement plant and shown here is how it will be laid out.


To the right of the storage silos, I'll be adding a wooden office/bagging house.
The back story being that the wooden structure was the orignal building and as business improved, it became a much bigger business. Not sure what I'll use for that building, but I've got hundreds of high end kits and one of them should work.

Tuesday, October 29, 2013

Here is the start of one of two new projects. This is going to be a cement plant along side of a river. Raw material comes in by barge and trains. I'm using a Wally World cement plant for this. The overall size is 24" x30". I'm starting to lay in the shoreline. Along the lower right side is the stone retaining wall for the unloading pier. I painted both top and bottom of the base with oil based paints, to help seal it against moisture.


here is the finished Tamiya bulldozer. I used chalks and oil washes for the weathering